Preface
I’m currently using a Vultr cloud server.
Because I’ve deployed many cloud services and blogs, I’ve opened three of the cheapest Vultr servers. However, even with this, the bills are still incredibly high.
So I found another relatively inexpensive cloud server and bought one for $18 a year. This price, compared to $6 a month, only covers one month.
So even if it takes time to migrate my previous blogs and services, I’m going to do it.
I’ve already purchased the cloud server, and after the migration, I won’t have to worry about it shutting down due to nonpayment for a year.
The server’s specs are also quite modest: one CPU, 2GB of RAM, a 40GB disk, and 3TB of monthly bandwidth. However, if I’m just using FRP as a proxy for a local server, it’s still sufficient.
Simple Record
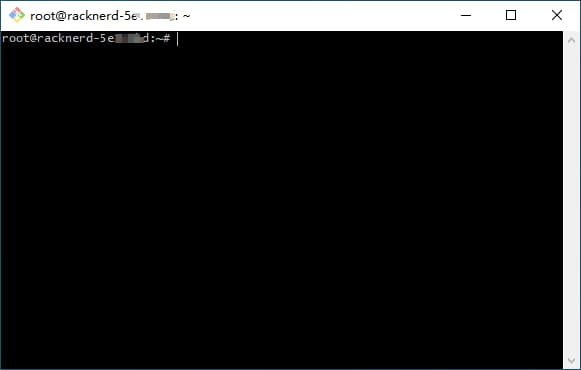
First, ssh terminal into the cloud server
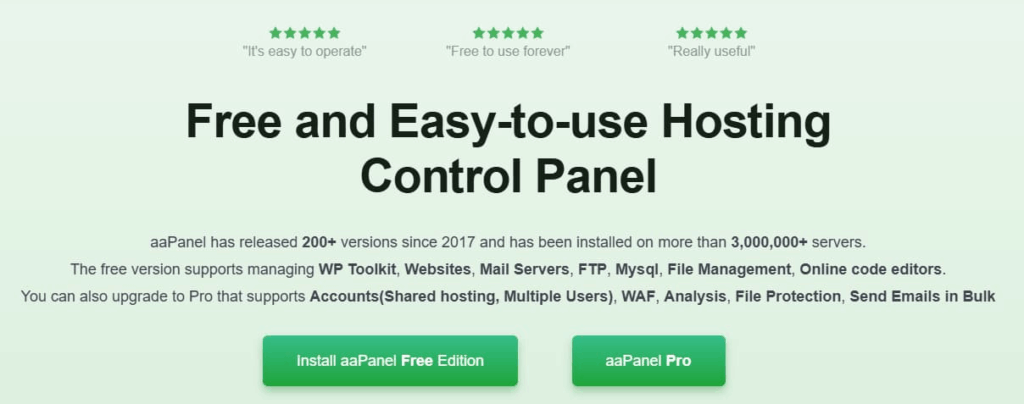
Then, when the cloud server is freshly initialized, I immediately installed a Linux panel.
I chose the aapanel panel, not because it’s superior, but because I’m so used to it and can’t be bothered to upgrade.
I typically use this panel for the following operations:
- Set virtual memory to 4GB (trading disk capacity for memory speed and size) (useful for low-performance servers).
- Set up a website (web resolution, SSL authentication, Nginx reverse proxy). (As long as DNS resolution is successful, static websites can be quickly deployed.)
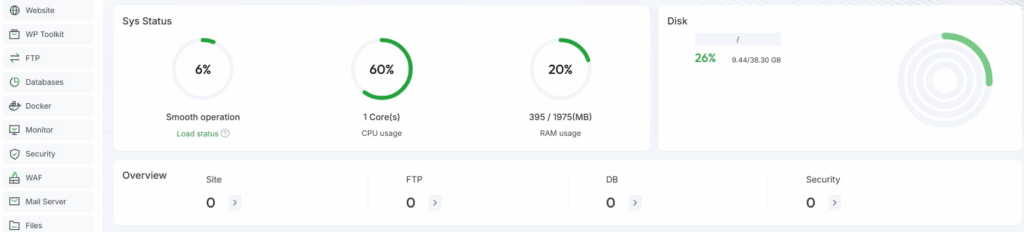
- Visually monitor the cloud server’s operating status, such as memory usage, upstream and downstream bandwidth usage, disk space usage, etc.
- Visualize file operations, code editing, terminal commands, and port settings (especially file operations).
Reference URL
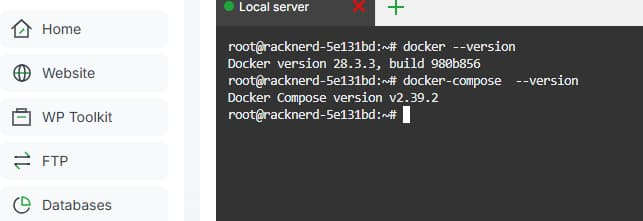
Then install Docker and Docker-Compose.
Note: My cloud server is running Ubuntu Server 24.04.
Reference URL
https://docs.docker.com/engine/install/ubuntu
Successfully installed version
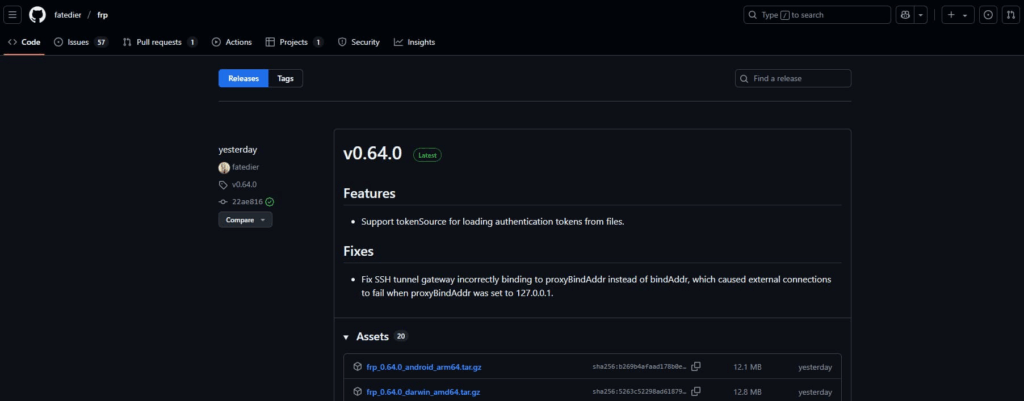
The next most important thing is to set up a FRP proxy.
Many services are deployed locally on a Raspberry Pi or Orange Pi development board.
The cloud server only provides traffic forwarding to facilitate access to local services from the public internet.
This blog is hosted on an Orange Pi 3B. The local server uses a FRP proxy for online access.
Reference URL:
https://github.com/fatedier/frp
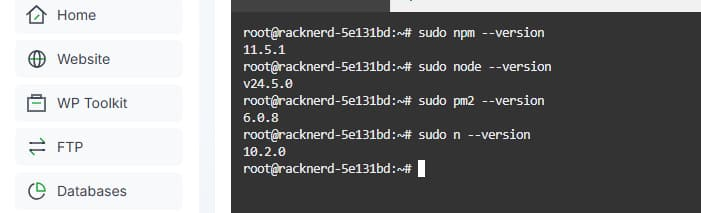
Next, you’ll need to install npm, n, nodejs, and pm2.
These are used to configure frp to start and daemonize the system using pm2.
It’s recommended to write the frp command as a .sh file and then start it using pm2.
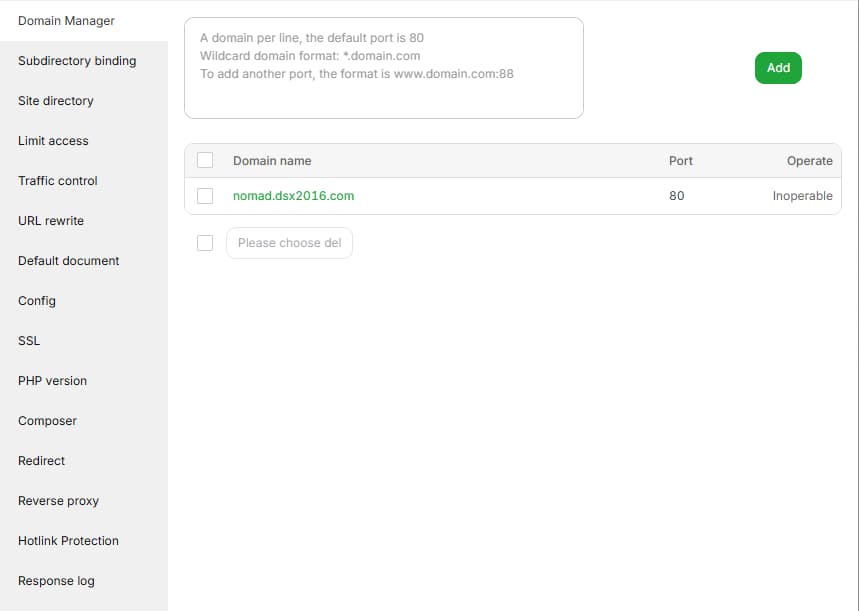
Proxy Blog
The advantage of deploying WordPress locally is that you don’t have to migrate a lot of data when switching to a cloud server.
Instead, you can simply redirect your public domain to the FRP proxy, which doesn’t take much time.
By the time you see this blog post, it will already be the result of my FRP setup on a new cloud server.
Tips
That’s it.
I’ve set up my new cloud server.
- Installed the Linux dashboard.
- Installed Docker and Docker-Compose.
- Installed FRP and set up PM2 as the FRP daemon.
- Used the dashboard to set up a proxy for the Nomad blog (this blog can be accessed using the new cloud server’s traffic).
Other open source services will be handled later.