Preface
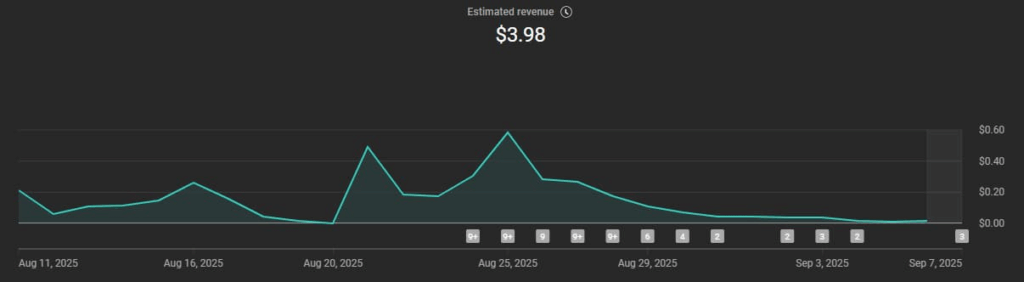
I checked my blog’s update time, and it’s been 20 days since the last one.
I’ve been busy thinking and organizing these days.
You know, if you’re not on the right track, no matter how hard you try, it’s all in vain.
And you’ll only make more mistakes. The harder you try, the worse you’ll make them. So, you must think more, record more, and organize more.
The end result is still all about YouTube.
It’s not that I’m not going to work on TikTok, WordPress, or a personal website.
It’s that all my other platforms and content are in service of YouTube. For example, I’m talking about making money on YouTube on TikTok, documenting YouTube operations on WordPress, and building YouTube toolkits, data visualizations, or navigation websites on my personal website.
youtube dash cam
I’m a bit lazy, so I don’t bother to meticulously shoot videos.
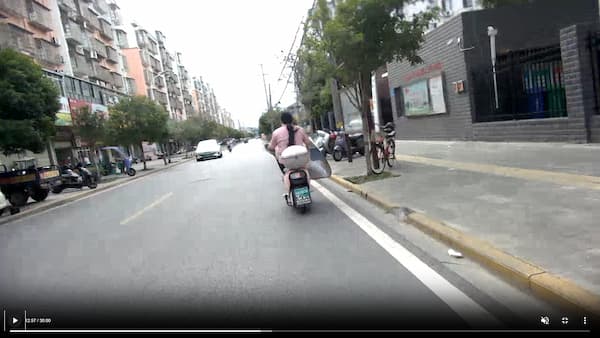
So I chose to use my dashcam as my video source, capturing the scenery and other content while driving.
Here are some technical issues I’ve encountered in recent days, briefly documented.
Use the alsamixer command to adjust the microphone input volume.
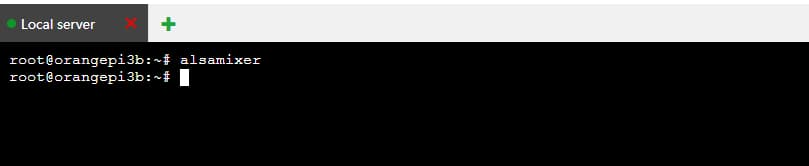
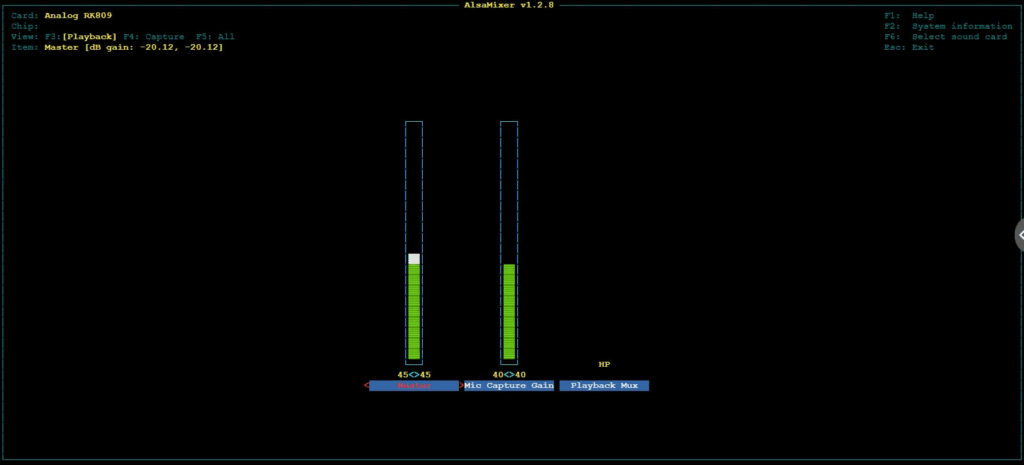
Entering the command will display a simple graphical interface.
Hold down the arrow keys on your keyboard and select keywords like “mic capture” to adjust the volume of the microphone input.
For example, right-click the virtual arrow key to select the middle bar graph, then press the up and down arrow keys to adjust the input volume.
After completing the settings, press Esc to exit.
However, after actual testing, it seems that after a system reboot, the default volume setting returns (I have an Orange Pi 3B development board with 2GB of RAM and an ARMbian system).
Due to 2GB of RAM and a relatively weak CPU, I could only install the Armbian Server version.
I wrote a shell script that pre-checks the unique device identifiers of the camera and microphone, then dynamically queries the mounted USB device name based on the unique identifiers (which changes dynamically).
The device number changes every time the USB is plugged in or unplugged, or every time the system reboots.
After dynamically finding the device using the unique identifier, I can use it with ffmpeg to record 720p video (with sound).
My camera supports 1080p 30fps, but the development board’s CPU would be fully utilized. Adding a microphone would cause lag and data loss, so I chose 720p for all purposes.
I can automatically record the scenery, accidents, and stories I encounter while riding, and then edit and share the highlights on YouTube, such as stray cats and cute kittens.
I’ve currently placed my development board in front of my scooter and have tested it without any problems.
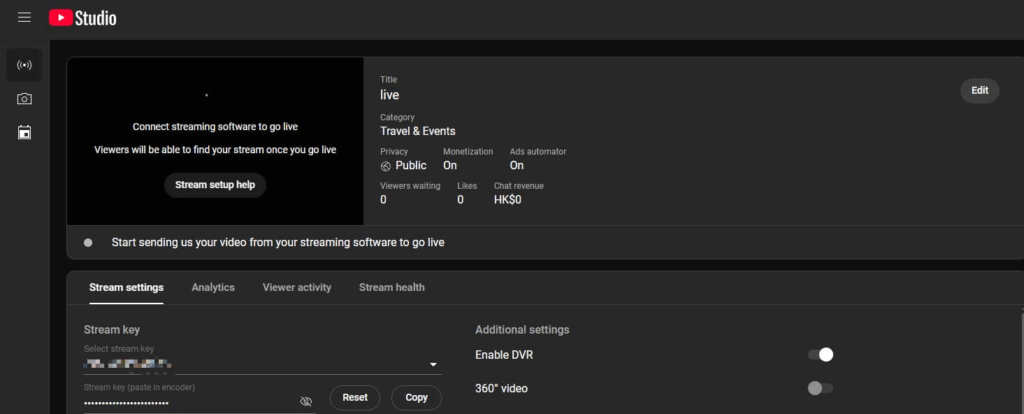
youtube live
A bike dashcam is both for safety and as a prerequisite for YouTube live streaming.
Because YouTube live streaming can be streamed, you can use OBS or FFmpeg.
Since FFmpeg can record video normally, it can also be streamed to YouTube live in real time.
Take you through the local streets and alleys, see the scenery, see the people, and visit the lively food courts.
Tips
A special note:
YouTube live streaming hours are counted towards the YPP review period (4,000 hours).
Live streaming is also a good way to pass the YPP.